
Hi, you must create a scene, and in the scene menu (dx button on the "scene", then Modify command), you must select the type of tileset you want, for that scene obviously. If done correctly, you will see, in the left upper corner, the tileset selected before, and now you can draw on the scene with that tileset. 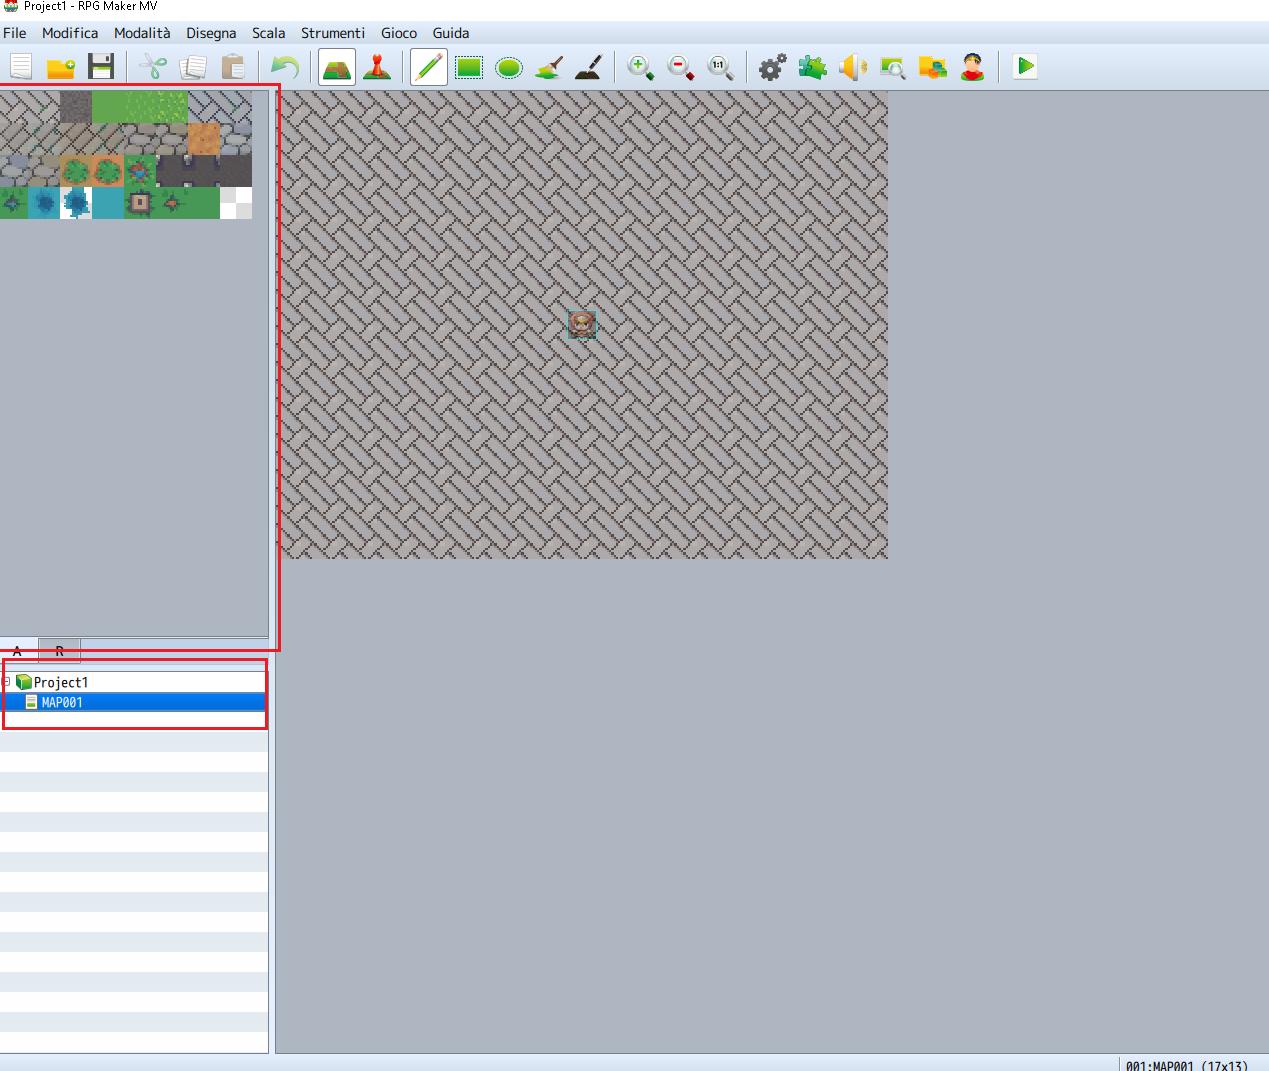 Have you already created a scene?.
nekoneko79
5
Posts
A member registered Nov 22, 2022
Recent community posts
Modern exteriors - RPG Tileset [16X16] comments · Replied to Art.hbsouza in Modern exteriors - RPG Tileset [16X16] comments
Modern exteriors - RPG Tileset [16X16] comments · Replied to w3s21 in Modern exteriors - RPG Tileset [16X16] comments
Modern exteriors - RPG Tileset [16X16] comments · Replied to w3s21 in Modern exteriors - RPG Tileset [16X16] comments
Well, i know that there are different type of tileset (A1, A2 etc.), and every tileset must adapt to this system; so, for example, tileset A1 must go with A1 type. To use external tileset you must import them in the Manage Resources sub-menu (Tools menu), and places them in the img/tileset category (where you will find the basic rpg maker MV's tileset); after that, you must go in the Database sub-menu (always in the Tools menu), and search for the Tileset menu; once there, you must "activate" the new tileset: you will see 6 tileset already activated (the RPG maker MV basic tilesets), so you must add more room for the extra tilesets; to do so, click the "modify maximum" button at the bottom, and set a number greater than "6"; for example, if you set the number to be "8", you will place 2 more tilesets; let's say that you want to add only one more tileset, so you choose "7"; you will see an empty seventh row in the tileset's list; click it, and name it in the right menu; then you will see, in this right menu, a sub-menu called IMAGES, with some letters and/or numbers (A1, A2, B etc.); if you click on the corresponding button, for example the A1 button, the system will open the IMG/tileset folder, where you placed the external tilesets; search for the "A1" tileset, click "ok"and you are done. after that, create a scene, and in the scene menu, select the tileset you created (the seventh one), and you are done. Every external tileset created for RPG maker MV must adhere to this system, you will always see A1, A2, A3 (and so on) tileset's type, so you cannot be wrong. I hope it helps!.
Modern exteriors - RPG Tileset [16X16] comments · Replied to LimeZu in Modern exteriors - RPG Tileset [16X16] comments
Modern exteriors - RPG Tileset [16X16] comments · Posted in Modern exteriors - RPG Tileset [16X16] comments